ReactJS is a front-end library that only handles the “view” side of a website. In other words, ReactJS only handles the user interface, meaning you would have to get a separate library to manage the backend.
Fortunately, ReactJS is one of easier front-end libraries to learn because of its intuitive and straightforward nature. With that being said, “intuitive” is a rather subjective term, and since this is the five year old’s guide to ReactJS, let’s jump right into how ReactJS works with a simple analogy.

ReactJS is basically a Lego set. Like how a Lego building is made out of smaller Legos, a ReactJS website is made from smaller components, which are reusable bundles of HTML and JavaScript (React bundles them together into a DSL called JSX). Each component can store its own state, and can be passed in “props”, which allow you to customize the component’s behavior.
Making a UI with ReactJS is incredibly easy, since you are effectively connecting and stacking a bunch of components together until you have a full website. Let’s take a simple example.
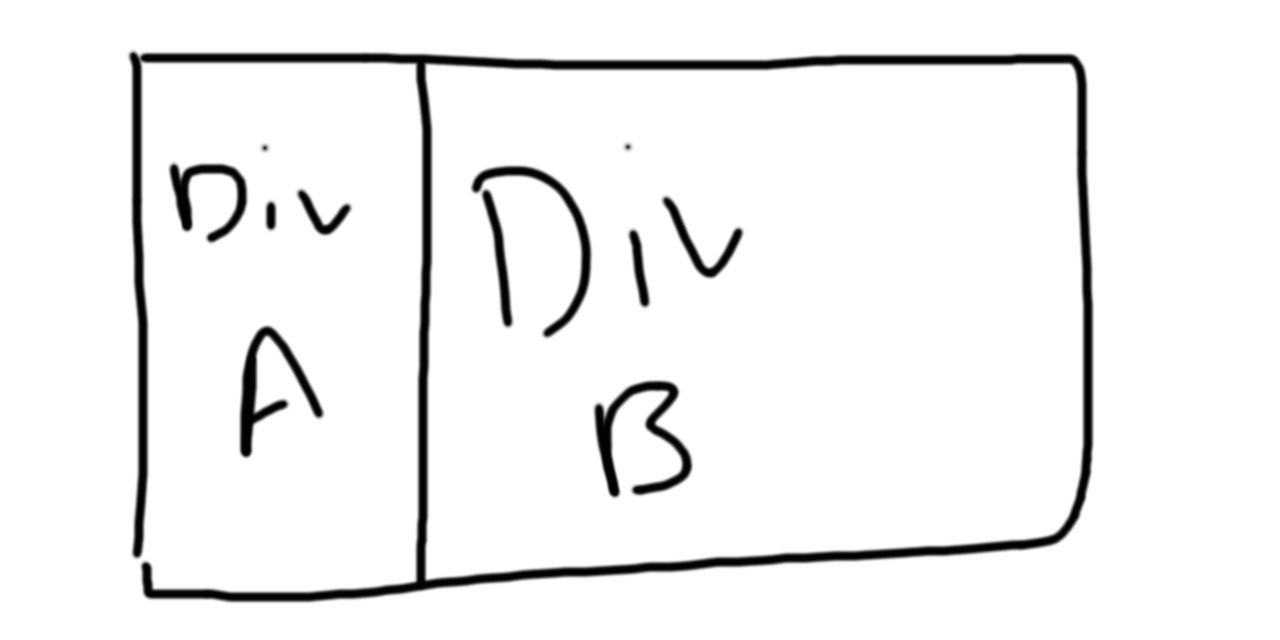
Let’s start with a simple page that we’ll divide into two divs. Now let’s suppose we’d like to put a sidebar into div A. This sidebar should have clickable links. How would we do this?
First, we would create a blank component called “Sidebar”.

Remember that components are just bundles of HTML and JavaScript. So from here, inserting a bunch of links with some CSS styling would give us a functional sidebar component.

In case you’re the “show me the code’ kind of person, here’s an unstyled version of what that component might look like in ReactJS.
class Sidebar extends React.Component {
  render() {
    return (
      <div>
        <ul>
          <li><a href="/home">Home</a></li>
          <li><a href="/about">About</a></li>
          <li><a href="/etc">Etc</a></li>
        </ul>
      </div>
    );
  }
}
Now, we actually have to create a component, which we’ll call “App”, to represent the entire web page. Once we’ve created this, we can then insert our component into the “App” component. In other words, we’re building components out of other, smaller components.
const App = () => {
  return (
    <div className="App">
      <div className="divA">
          // This is the sidebar component
          // that we just built!
          <Sidebar></Sidebar>
      </div>
      <div className="divB">
        // Put content in div B later
      </div>
    </div>
  );
}
From a graphical perspective, this is what we’ve done (both App and Sidebar are components):

This is fine and all, but suppose you wanted this sidebar to have different links, or perhaps have the links updated based on some sort of database query. With our current implementation, we have no way of doing this without editing the Sidebar class and hard-coding those links.
Fortunately, there’s a solution for this, which is to use props. Props are like inputs for a component, and with them, you can dynamically and flexibly configure a component. Just like how functions can accept parameters, components can accept props.
However, there are two rules for using props.
- Components shouldn’t mutate their props
- Components must only pass their props and any other data downstream.
The first rule just means that if you get some props as input, they should not change. The second rule isn’t a hard and fast rule, but if you want clean, debuggable code, you should try your best to always pass data/props unidirectionally.
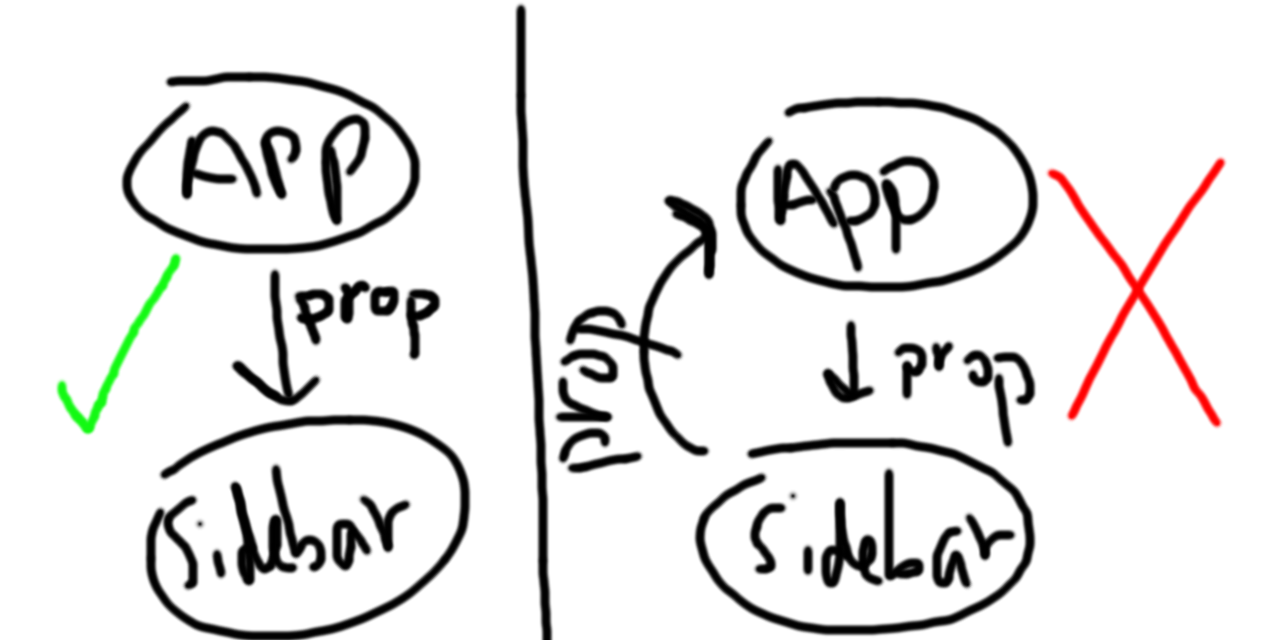
DON’T pass props upwards to a component’s parent. The short version of why is that passing props upwards causes your components to be tightly coupled together. What you really want is a bunch of components that don’t care about who their parent or child components are. If you ever have to pass a prop up the hierarchy, you’re probably doing something wrong.
With that being said, one of the most common ways to use props is through props.children, which is best explained through a code example.
class Sidebar extends React.Component {
  constructor(props){
    super(props);
  }

  render() {
    return (
      <div>
        <ul>
          {props.children}
        </ul>
      </div>
    );
  }
}
Props are used for when you want to configure components in a flexible way. In this example, the Sidebar component no longer has pre-defined links anymore. Instead, you now need to pass them in via the App component.
const App = () => {
  return (
    <div className="App">
      <div className="divA">
          // The stuff in-between the Sidebar tags
          // is the props.children
          <Sidebar>
            <li><a href="/home">Home</a></li>
            <li><a href="/about">About</a></li>
            <li><a href="/etc">Etc</a></li>
          </Sidebar>
      </div>
      <div className="divB">
        // Put content in div B later
      </div>
    </div>
  );
}
This means you can now create infinitely many combinations of the Sidebar component, each one having whatever links you want!
const App = () => {
  return (
    <div className="App">
      <div className="divA">
          // In the diagram below, blue text
          <Sidebar>
            <li><a href="/home">Home</a></li>
            <li><a href="/about">About</a></li>
            <li><a href="/etc">Etc</a></li>
          </Sidebar>

          // In the diagram below, red text
          <Sidebar>
            <li><a href="/contact">Contact</a></li>
            <li><a href="/shop">Shop</a></li>
          </Sidebar>
      </div>
      <div className="divB">
        // Put content in div B later
      </div>
    </div>
  );
}

You can even pass in props through the component’s field! Let’s say you have a “Profile” page, and you need to change the “Name” section based on who is logged in. With components, you can simply have the parent get the name, and then pass that name as a prop to the required children components!
const Profile = (props) => {
  return (
    <div className="Profile">
      // You can define a function to fetch
      // the name from the backend, and then
      // pass it into the { ..... }

      // Here is a hard-coded example
      // <NameParagraph personName="John">
      // </NameParagraph>
      <NameParagraph personName="{ .... }>
      </NameParagraph>
    </div>
  );
}

class NameParagraph extends React.Component {
  constructor(props){
    super(props);
  }

  render() {
    return (
      <div>
        {props.personName}
      </div>
    );
  }
}
Notice that there are no weird shenanigans happening here. The NameParagraph is not fetching the name on its own, it isn’t passing any callbacks or props to its parent, it’s a simple downstream flow of data.
States, props, and components form the core of how React works at a fundamental level. You create components, and then weave them together to create larger components. Once you’ve done this enough times, you’ll finally have one giant component that makes up your web page.
This modular approach, along with the downstream flow of data, makes debugging a fairly simple process. This is largely because components are supposed to exist independent of other components.
Just like how you can detach a Lego piece from a giant Lego sculpture and use it anywhere else, in any other Lego project, you should be able to take any component in your code and embed it anywhere else in any other component.
Here’s a short and sweet haiku to sum up this all up:
When using React
Code as if your components
Were Lego pieces.
